
I ran into what seems to be a common issue with Nextcloud: when adding an SMB share, it fails as soon as you enter the password to confirm the connection. I’m in a Yunohost environment, but the general idea should apply to a standard environment. It’s extremely frustrating — but fortunately, you can fix it by SSHing into the server and running a few commands.
Below is a clean, concise guide.
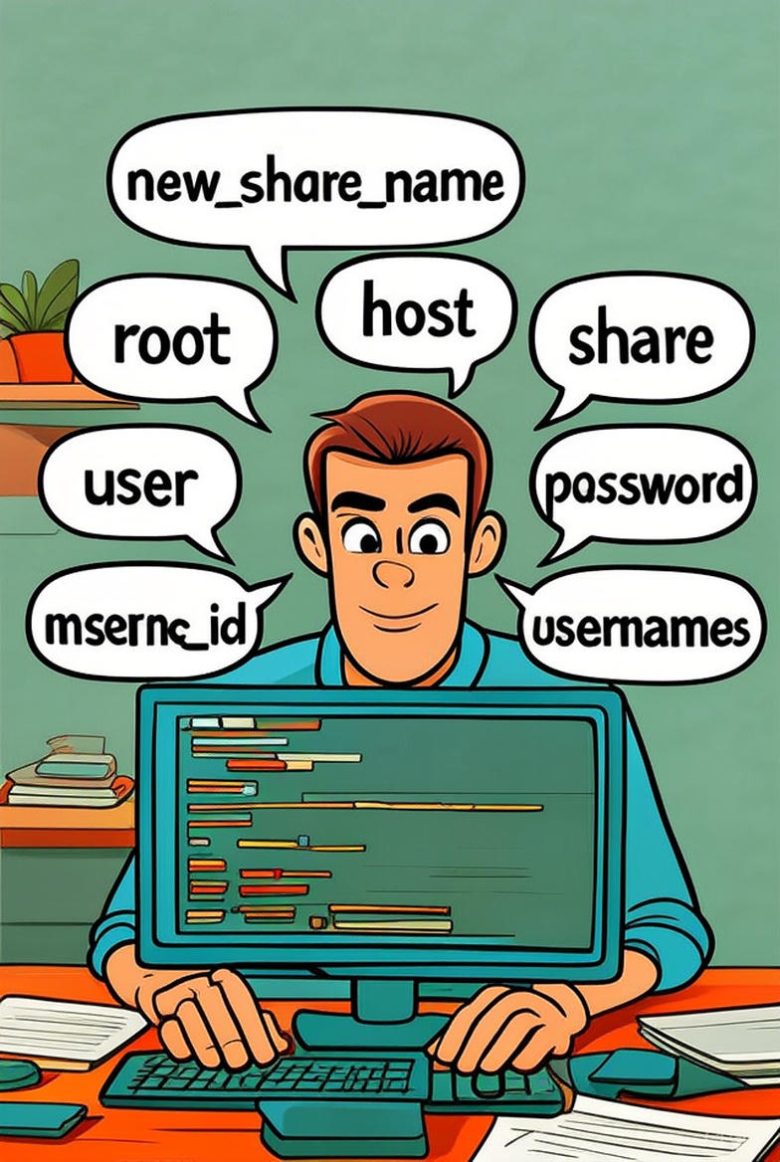
Required Variables
Before running the commands, gather the following:
- new_share_name – The name of the share as it will appear in Nextcloud
- host – IP address of the SMB server (example:
192.168.1.100) - share – Name of the SMB share (example:
sambashare) - root – Root directory on the share (use
""for root) - user – SMB username
- password – SMB user password
- mount_id – The mount ID returned after creating the share (example:
30) - usernames – One or more Nextcloud usernames to grant access (comma-separated for multiple users)
Instructions
1. Enter the Yunohost Nextcloud Shell
Open your terminal and run:
yunohost app shell nextcloud
2. Create the SMB Mount
Replace the variables with your actual values:
php occ files_external:create "new_share_name" smb password::password --config host="host" --config share="share" --config root="root" --config user="user" --config password="password"
3. Note the Mount ID
After running the command, Nextcloud will output the mount ID (a number such as 30).
You’ll need this for assigning the share to specific users.
4. Apply the SMB Mount to Users
Remove default access and assign the mount to selected users:
php occ files_external:applicable mount_id --remove-all
php occ files_external:applicable mount_id --add-user="username1, username2"
5. Verify the Configuration
php occ files_external:list
6. Exit the Shell
exit
Final Thoughts
This solved the SMB password confirmation issue for me. I couldn’t find a clear, consolidated guide anywhere — so hopefully this helps someone avoid the same frustration!
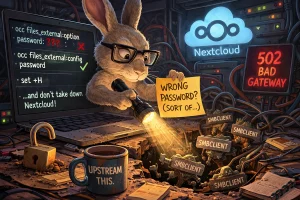
Addendum: What the Original Guide Didn’t Cover
Added March 2026, after diagnosing a 502 Bad Gateway that turned out to be caused by this exact setup.
The Symptom That Sent Me Here
If your Nextcloud SMB mount is misconfigured — wrong password, missing password row in the database — it doesn’t just show a red X in the UI and move on. Every time a user tries to access the mount, Nextcloud spawns a smbclient process. With a 20-second timeout, those processes pile up fast. Once they exhaust the PHP-FPM worker pool, every request to Nextcloud returns a 502 Bad Gateway, even pages that have nothing to do with the SMB mount.
You can confirm this is happening:
pgrep -a smbclient
systemctl status php8.3-fpm | grep 'Processes active'
Dozens of smbclient processes all pointing at the same host, and a saturated worker pool, means the SMB mount is the culprit.
Problem 1: Passwords With Special Characters
The original guide runs commands inside yunohost app shell nextcloud, which drops you into a bash shell. If your Samba password contains a !, bash will try to interpret it as a history expansion and the command will either error or silently use a mangled password.
Always run this first before setting any password:
set +H
This disables bash history expansion for the current session, making ! a literal character.
Problem 2: The Password Row May Not Exist at All
After using files_external:create, verify the password actually made it into the database. From the root shell:
mysql -u root nextcloud -e "SELECT * FROM oc_external_config WHERE mount_id=<your_mount_id>;"
In my case, the password row was completely absent — files_external:create and files_external:option both appeared to succeed but never wrote the password to oc_external_config. The table had host, share, root, and user rows but no password row.
If it’s missing, insert it directly:
mysql -u root nextcloud -e "INSERT INTO oc_external_config (mount_id, \`key\`, value) VALUES (<mount_id>, 'password', 'yourpassword');"
Note: key is a reserved word in MariaDB — backtick it or you’ll get a syntax error.
Verify afterward:
mysql -u root nextcloud -e "SELECT * FROM oc_external_config WHERE mount_id=<mount_id>;"
You should now see a row with key=password and the correct value.
Problem 3: It’ll Break Again After Upgrades
YunoHost Nextcloud upgrades can wipe or reset external storage configuration. Save yourself the future 502 diagnosis by creating a fix script and a post-upgrade hook.
The fix script (/root/fix-nextcloud-smb.sh):
#!/bin/bash
# Ensure SMB password row exists after upgrades
mysql -u root nextcloud -e "
  INSERT IGNORE INTO oc_external_config (mount_id, \`key\`, value)
  VALUES (<mount_id>, 'password', 'yourpassword')
  ON DUPLICATE KEY UPDATE value='yourpassword';
"
echo "Done. Current config:"
mysql -u root nextcloud -e "SELECT * FROM oc_external_config WHERE mount_id=<mount_id>;"
chmod +x /root/fix-nextcloud-smb.sh
The post-upgrade hook (/etc/yunohost/hooks.d/post_app_upgrade/fix-nextcloud-smb):
#!/bin/bash
[[ "$YNH_APP_ID" == "nextcloud" ]] && /root/fix-nextcloud-smb.sh
chmod +x /etc/yunohost/hooks.d/post_app_upgrade/fix-nextcloud-smb
This runs automatically after any Nextcloud upgrade and restores the password row if it’s been wiped, before anyone hits a 502.
Quick Recovery Steps If You’re Already Getting 502s
- Kill the hung smbclient processes to restore Nextcloud immediately:
pkill -f 'smbclient.*<your_smb_host>' - Verify and fix the password row in the database as described above.
- Confirm the PHP-FPM pool has recovered:
systemctl status php8.3-fpm | grep 'Processes active'You want to see idle workers, not active ones saturating the pool.


Comments
Pingback: Upstreaming a Fix: The Nextcloud SMB Password Rabbit Hole (and Why OpenClaw Caught What I Missed) - Wonko's Web Pages