
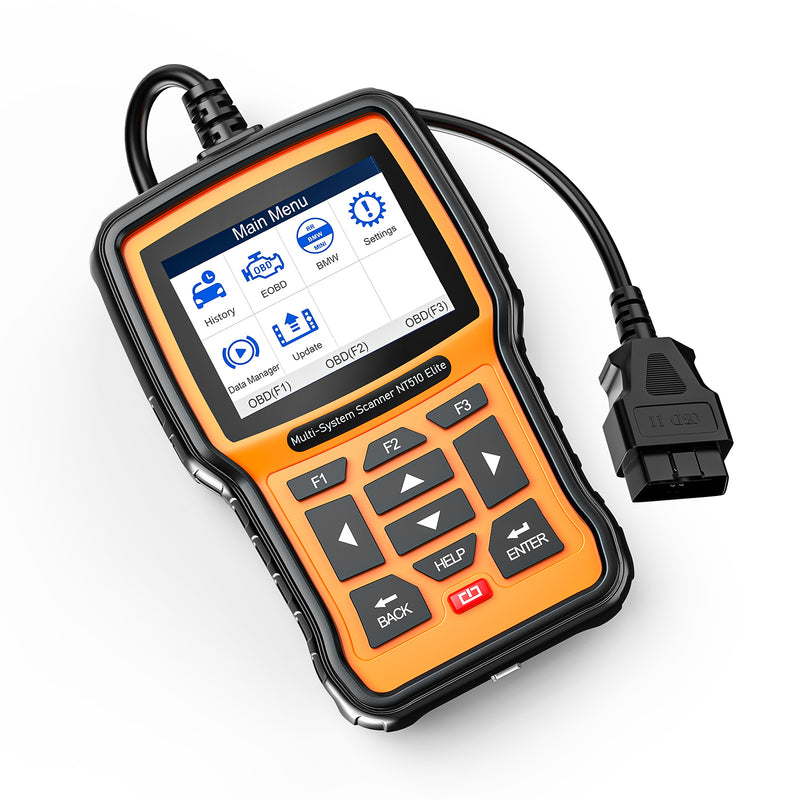
When I first got my Maserati, it came with two diagnostic trouble codes. One of them was P100900: Humidity Sensor Module. This code doesn’t trigger a check engine light and is invisible to most generic scanning tools. I only discovered it after using the FOXWELL NT510 Elite, a bi-directional scanner that outperforms my other diagnostic tools for Maserati-specific issues. While its interface is clunky, it gets the job done.
Researching the Code
After some digging, I found a helpful thread on the Maserati Life forum:
Humidity Anti-Mist Sensor Part Confusion
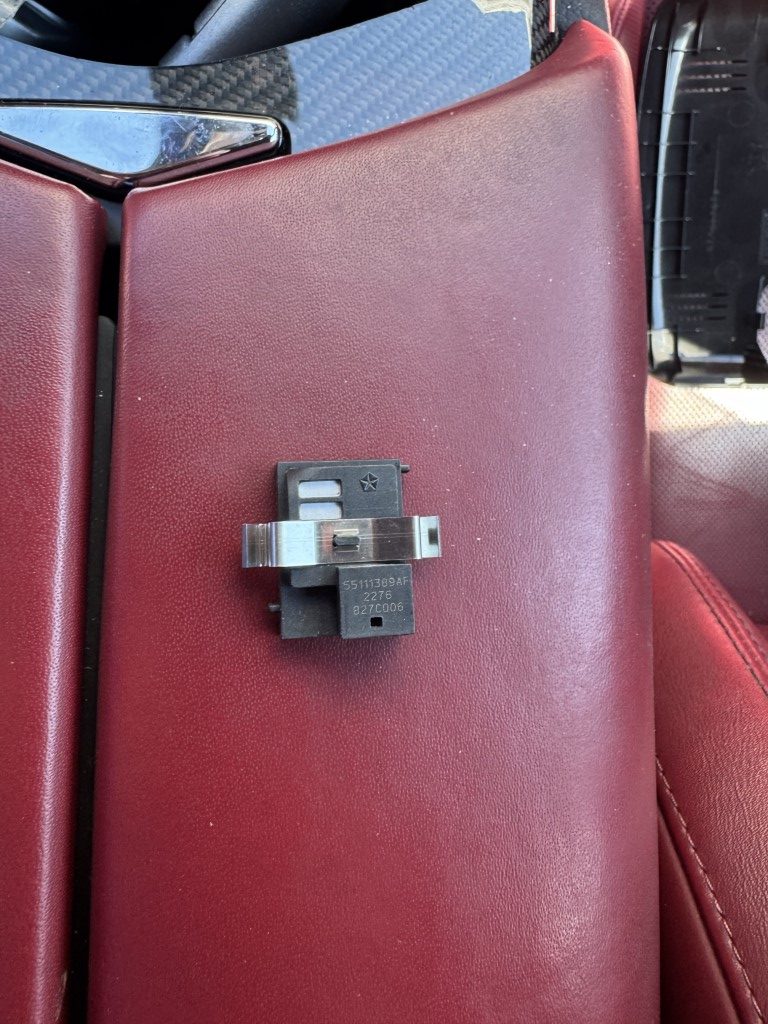
In the thread, user mkbruce confirmed that the part in question is Maserati part number 675000532, which is equivalent to Mopar part number 55111389AF. Interestingly, Maserati vehicles often use Pentastar (Mopar) components under the hood, which can be a cost-effective discovery for repairs.
The Mopar part was only $10–25 cheaper than the Maserati part, but factoring in shipping times, I opted for the Mopar 55111389AF to get it faster. With an eBay promotion, the final cost was $77.62.
Locating and Accessing the Part
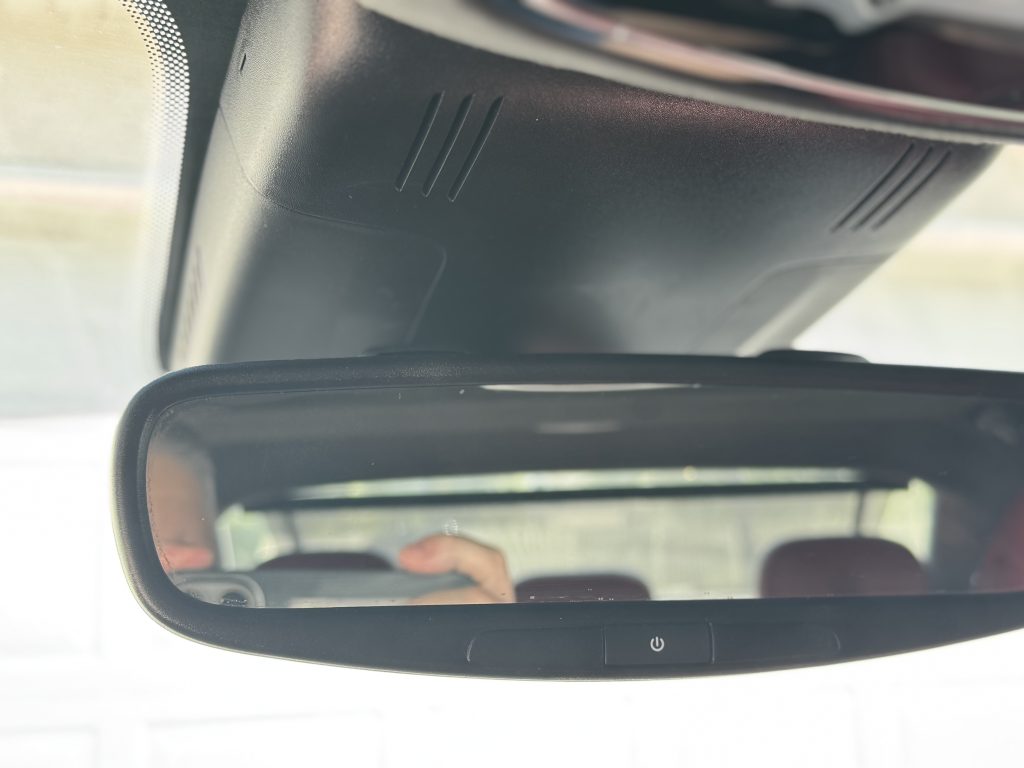
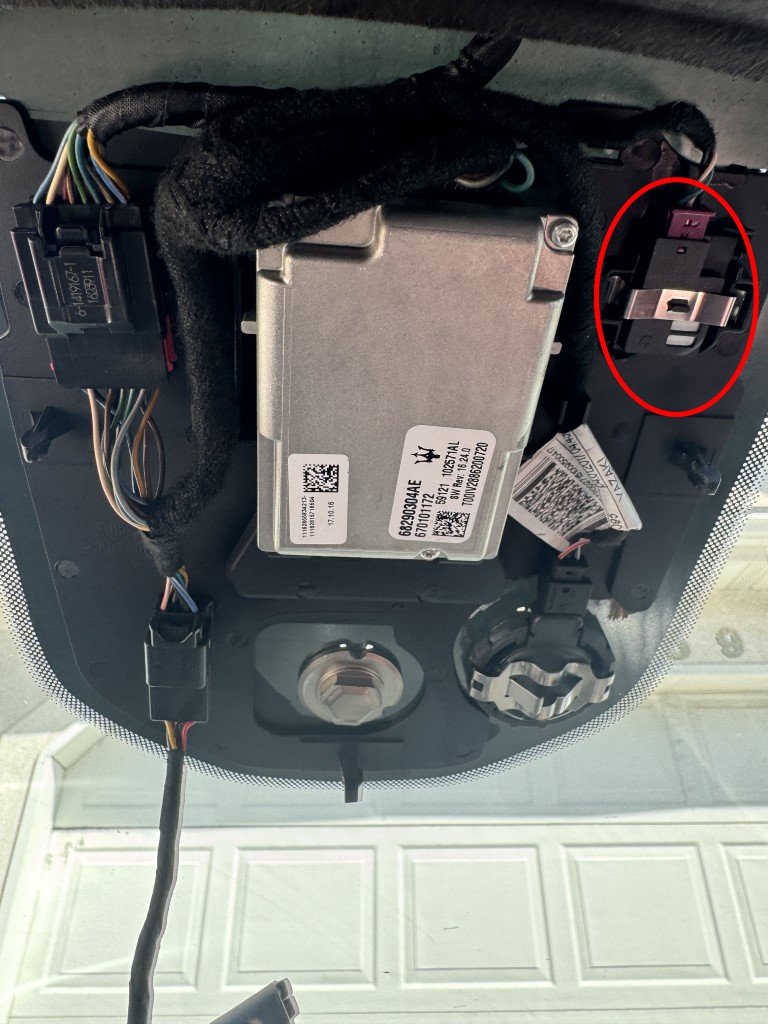
The humidity sensor module is located in the cluster behind the rearview mirror. Accessing it requires no tools, as the assembly consists of two parts:
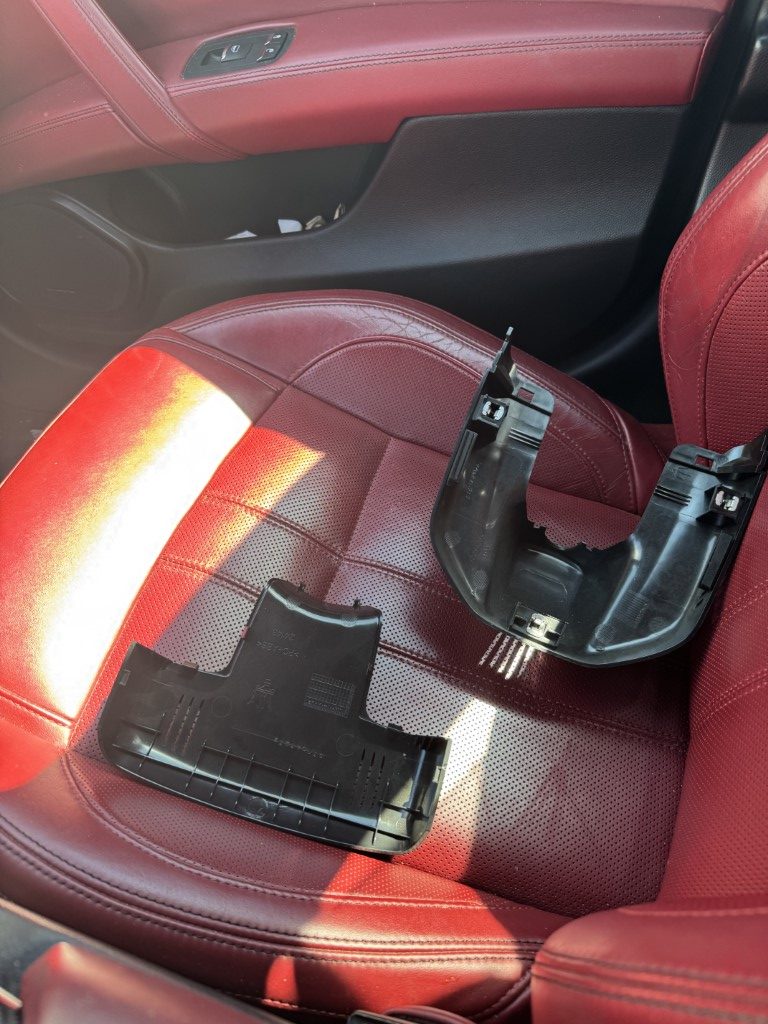
- A U-shaped front cover that snaps into place.
- A T-shaped rear cover held in place by the front cover.
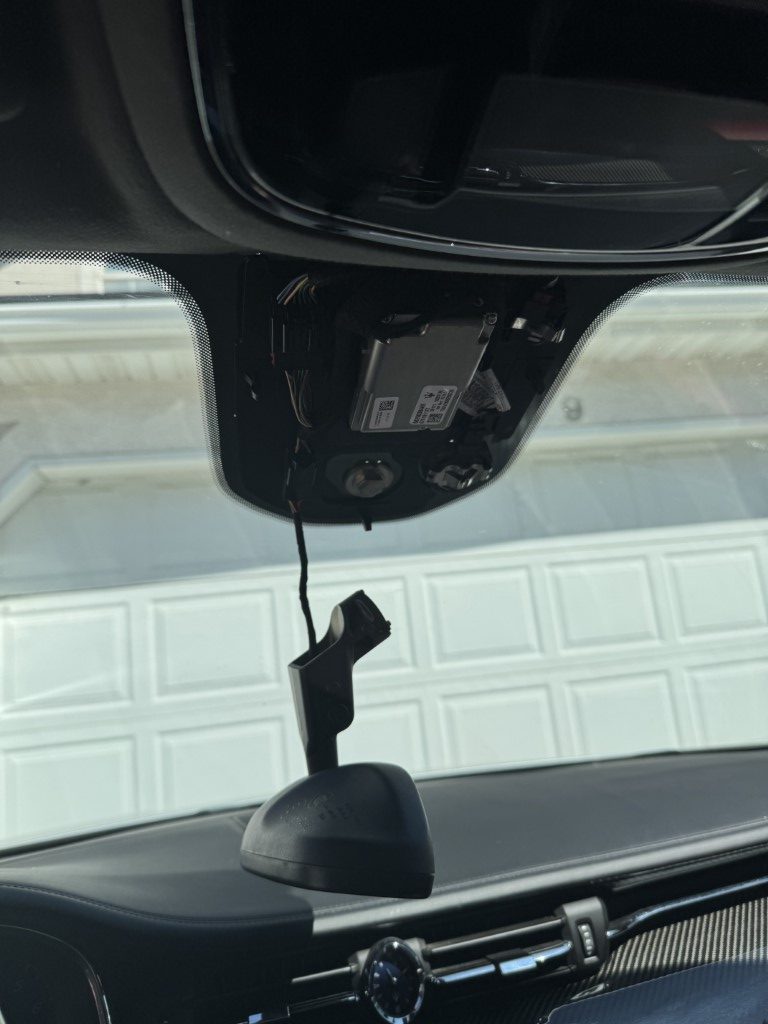
To begin, I removed the front cover, which caused the rearview mirror to detach from the windshield, momentarily dangling by its wire. This was alarming at first, but I realized the mirror attaches to a hex-shaped mount on the windshield with a simple twist-on mechanism. Crisis averted!
Removing the Faulty Sensor
The humidity sensor module is located on the passenger side of the cluster. It’s secured by two metal clips, which were tricky to remove. I used a box knife to pry them out, though it probably wasn’t the ideal tool. Be cautious not to damage the plastic pockets that hold the clips.
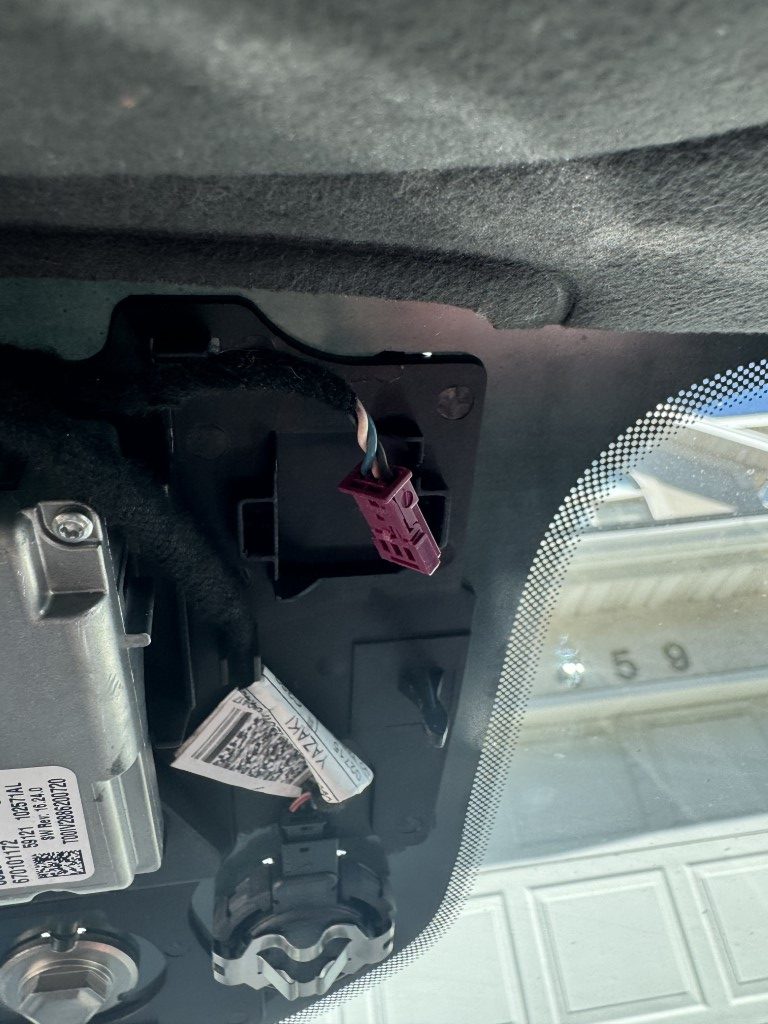
I unplugged the connector first. The right clip came out relatively easily, but the left one was stubborn. After some effort, I yanked it free, slightly stretching the clip in the process, but it released without breaking anything.
Installing the New Sensor
Replacing the sensor was surprisingly straightforward. The new 55111389AF module snapped into place effortlessly. I reconnected the electrical connector, and the installation was complete.
Reassembling the Cluster
Reattaching the rearview mirror was simple. The mirror has a nub that aligns with a corresponding nub on the windshield mount. I twisted it counterclockwise to align, pressed it onto the mount, and rotated it clockwise to lock it in place.
The U-shaped rear cover snapped back on easily, with clear snap points. The T-shaped front cover was trickier. Aligning the bottom of the “T” near the mirror mount took some finesse. Most of the snaps clicked in smoothly, but one was stubborn. With careful force, it finally snapped into place without breaking.
Clearing the Code
Using the FOXWELL NT510 Elite, I cleared the P100900 code. Unlike before, when the code would return immediately, it stayed cleared. As a bonus, the air conditioning seemed to perform better—cooler and stronger—though this could be subjective, given Utah’s dry climate.
Final Thoughts
After several scans, my Maserati is now code-free, which is incredibly satisfying! I couldn’t find many detailed guides or photos for this procedure, so I hope this write-up helps other Maserati owners facing the P100900 code. The process was manageable with minimal tools and a bit of patience, and the cost was reasonable thanks to the Mopar part compatibility.


Comments
Pingback: How to Reset Service Interval on 2017 Maserati Quattroporte - Wonko's Web Pages